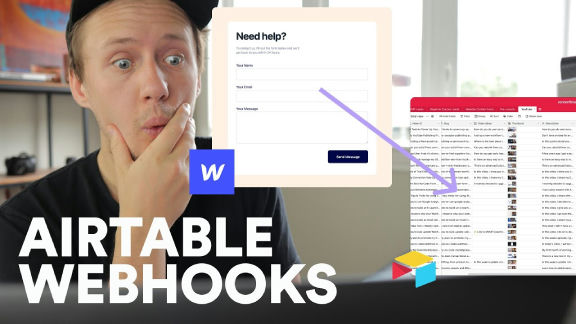
How to Use Airtable Webhooks with Webflow, Memberstack and Stripe


Tools mentioned

Description
Learn how to use Airtable webhooks to connect your Webflow site to Memberstack and Stripe
Overview
In this tutorial, we will be discussing how to receive webhooks when a Webflow form is submitted and save it in Webflow, as well as how to create an automation in Airtable. We will also go over how to set up a form submission webhook in Webflow via the Integrations tab, and how to test the webhook in Airtable.
First, let's go over how to receive webhooks when a Webflow form is submitted and save it in Webflow. To do this, you will need to go to the Integrations tab in your Webflow account and select "Webhooks" from the list of available integrations. From there, you can create a new webhook and specify the URL where you want to receive the webhook data.
Once you have set up the webhook, you can then create an automation in Airtable to handle the data that is received. To do this, you will need to log in to your Airtable account and create a new base for the form data. You can then add fields for each of the form's fields and customize the field settings as needed (e.g. data type, default values, etc.).
Next, let's go over how to setup a form submission webhook in Webflow via the Integrations tab. To do this, go to the Integrations tab and select "Webhooks" from the list of available integrations. From there, you can create a new webhook and specify the URL where you want to receive the webhook data. In the webhook settings, you can specify which form you want to monitor and what action should trigger the webhook (e.g. when a new form submission is received).
Now, let's discuss how to test the Webflow webhook in Airtable. To do this, you can use Airtable's "Test" feature to simulate a form submission and see how the data is handled by the automation. This will allow you to verify that the webhook is working correctly and that the data is being mapped correctly to the Airtable fields.
Next, let's go over how to map/define Webflow form fields in Airtable tables. To do this, you will need to go to the Fields tab in your Airtable base and add a new field for each of the form fields that you want to map. In the field settings, you can specify the data type and other settings as needed.
Now, let's discuss how to send membership data to Airtable when someone signs up with Memberstack. To do this, you will need to set up a webhook in Memberstack to automatically send the membership data to Airtable when a new member signs up. To do this, log in to your Memberstack account and go to the Webhooks tab. From there, you can create a new webhook and specify the URL where you want to receive the data.
Once you have set up the webhook, you can then create an automation in Airtable to handle the data that is received. To do this, you will need to log in to your Airtable account and create a new base for the membership data. You can then add fields for each of the membership data fields and customize the field settings as needed.
Next, let's go over how to test the newly created webhook in Airtable automations and run a test. To do this, you can use Airtable's "Test" feature to simulate a membership sign-up and see how the data is handled by the automation.
Resources
Transcript